How to Debug Choreonoid Using Eclipse
This section explains how to debug Choreonoid programs using Eclipse. There are several ways to create projects for Eclipse, but here we will explain the method using existing Makefiles. Note that Eclipse has many versions and abundant features, so you don’t necessarily have to follow the exact method described here.
Preparation
To create a Makefile for debugging, execute the following in Choreonoid’s top folder:
ccmake .
Change CMAKE_BUILD_TYPE to Debug, then configure, generate, and exit.
Note
The method using a build directory explained on the installation page did not allow Eclipse to recognize source files, so please perform this in the top folder.
If you have already performed make in the top folder, execute:
make clean
to remove the content built in Release mode.
Installing Eclipse
If you already have an environment set up, you can use that.
Here, we explain the case of installing Eclipse Neon on Ubuntu 64bit.
Open the Eclipse homepage https://www.eclipse.org/ and from the download page,
press the Download button at Get Eclipse Neon to download eclipse-inst-linux64.tar.gz.
Extract the file to an appropriate location and launch eclipse-inst.
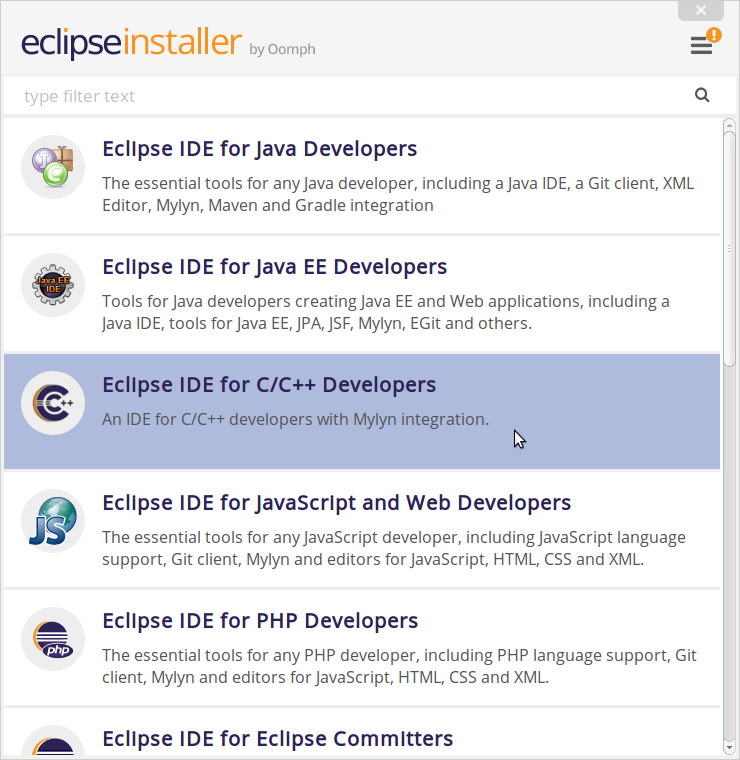
Select Eclipse IDE for C/C++ Developers to proceed.
Enter the installation folder as appropriate and start the installation.
Follow the installer’s instructions from there.
Launch eclipse from the installation location. Specify the workspace. The default is fine.
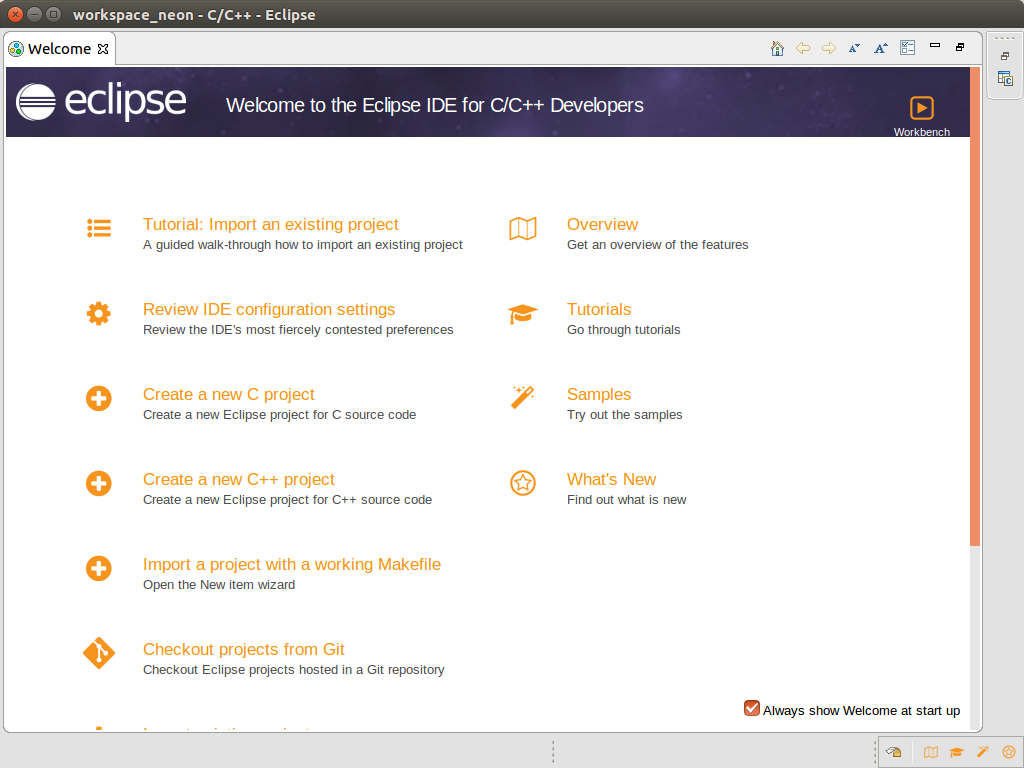
A screen like the figure will open. First-time users may find the Tutorials and Samples helpful.
Close the Welcome tab to continue.
If you uncheck Always Show …. in the bottom right, it won’t be displayed on the next launch.
Creating a Project
After closing the tab, the C/C++ Perspective should be open.
If it doesn’t open, open it from the menu Window - Perspective - Open Perspective - C/C++.
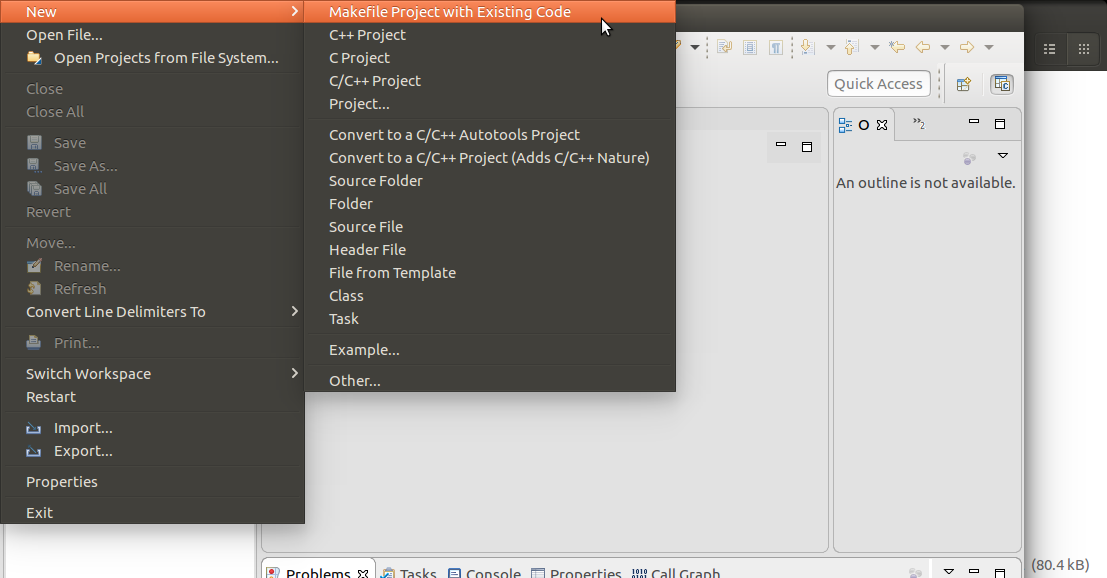
From the menu, select File - New - MakeFile Project with Existing Code.
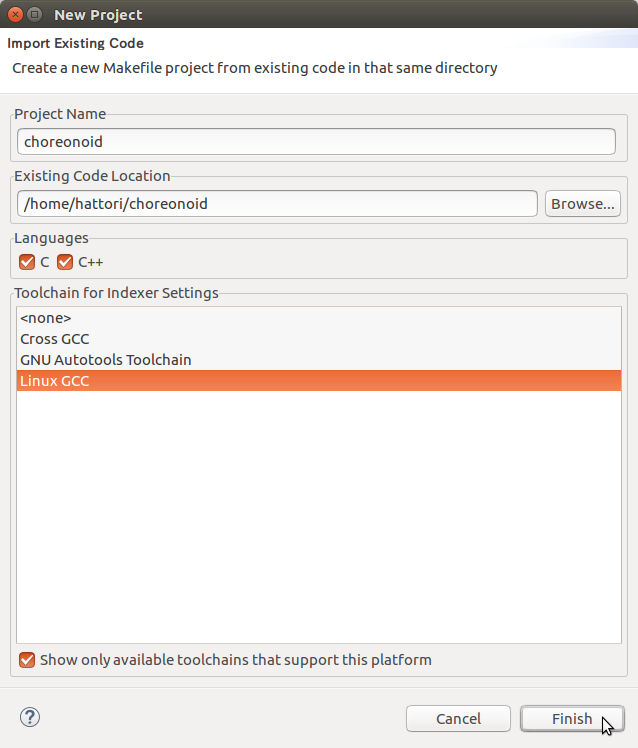
When the dialog opens, set the Project Name and Choreonoid’s top folder as shown in the figure, then finish.
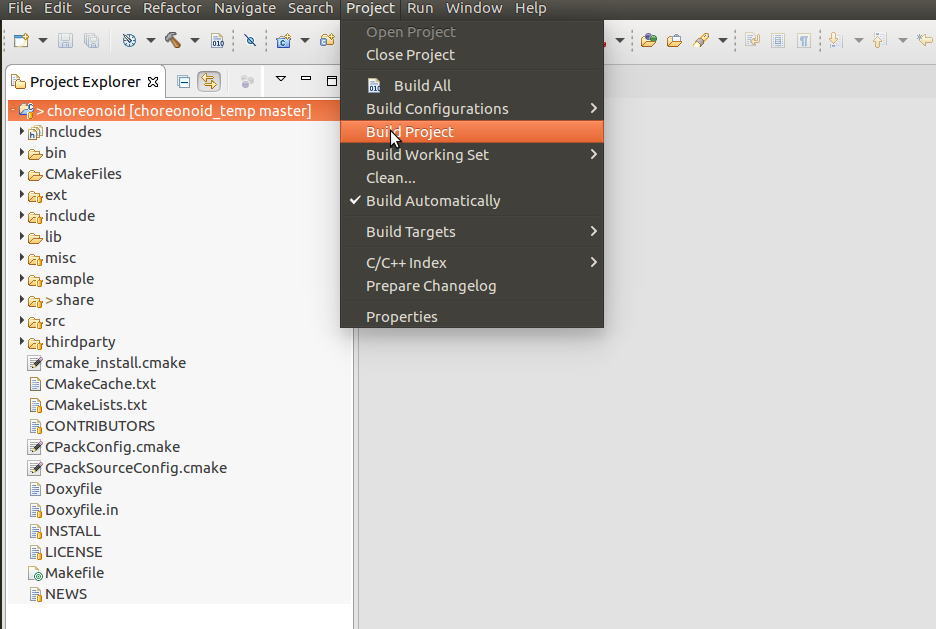
A project called choreonoid is created in the Project Explorer. Select this and choose Project - Build Project from the menu.
Messages will be displayed in the Console screen, then finish.
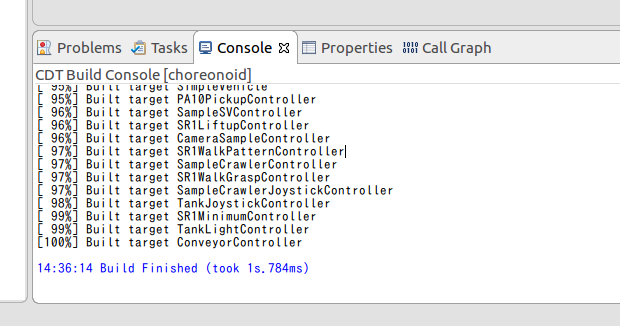
Errors during build will also be displayed here.
Running the Program
First, let’s launch Choreonoid without any settings.
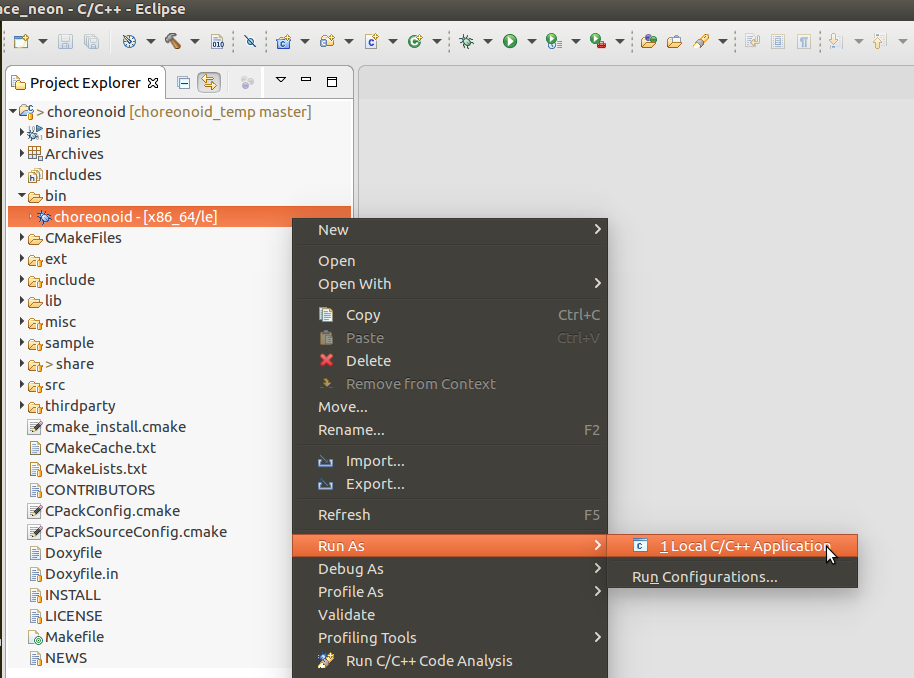
Expand the bin folder in Project Explorer, and you should see choreonoid with a bug icon.
Select this, right-click, and choose Run As - Local C/C++ Application from the popup menu.
Choreonoid will launch, so try opening some project and running a simulation.
It will be quite slow since it’s running in debug mode. After confirming the operation, exit Choreonoid and return to the original window.
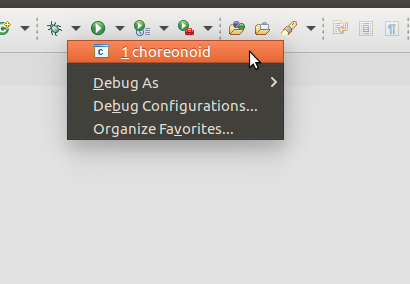
As shown in the figure, clicking the triangle next to the bug icon in the toolbar shows that choreonoid is registered.
From next time, you can launch Choreonoid by clicking this bug icon.
Debugging a Sample
Next, let’s debug a sample program.
In Project Explorer, expand the sample - SimpleController folder and double-click SR1LiftupController.cpp.
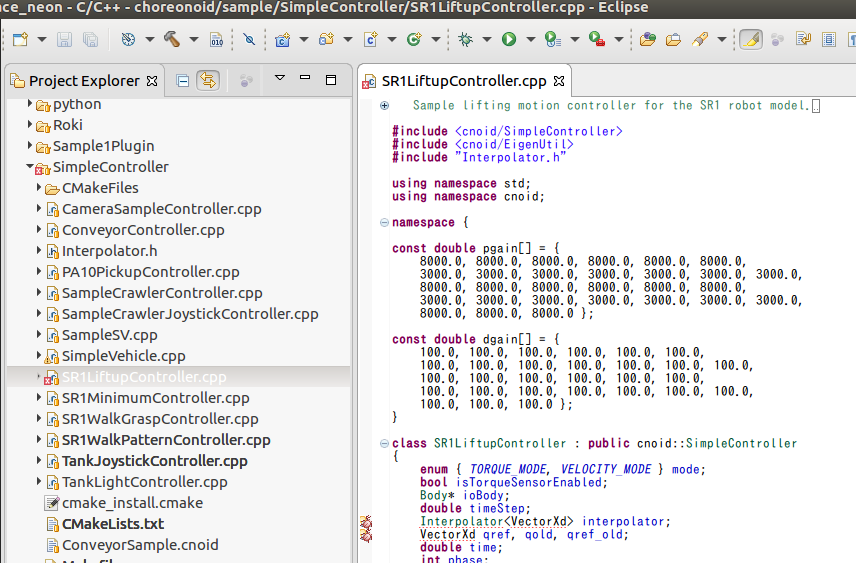
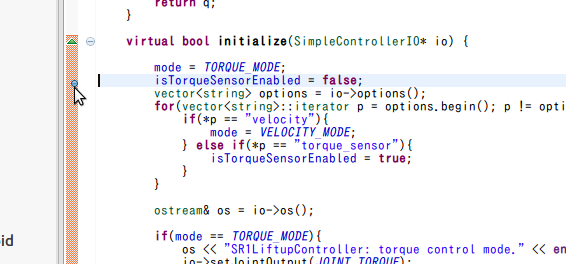
The program will be displayed as shown in the figure. Double-click on the left side of the line where you want to set a breakpoint, at the location shown in the figure.
The blue circle indicates that a breakpoint has been set.
In this state, click the bug icon in the toolbar to launch Choreonoid.
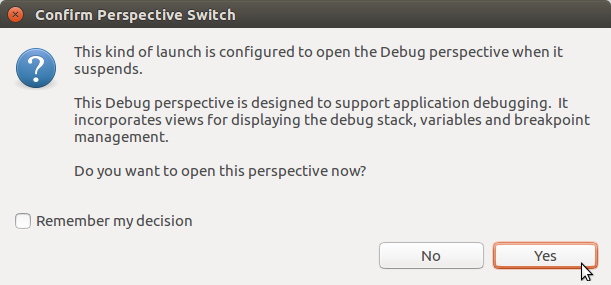
If a message like the figure appears, select Yes to open the Debug Perspective.
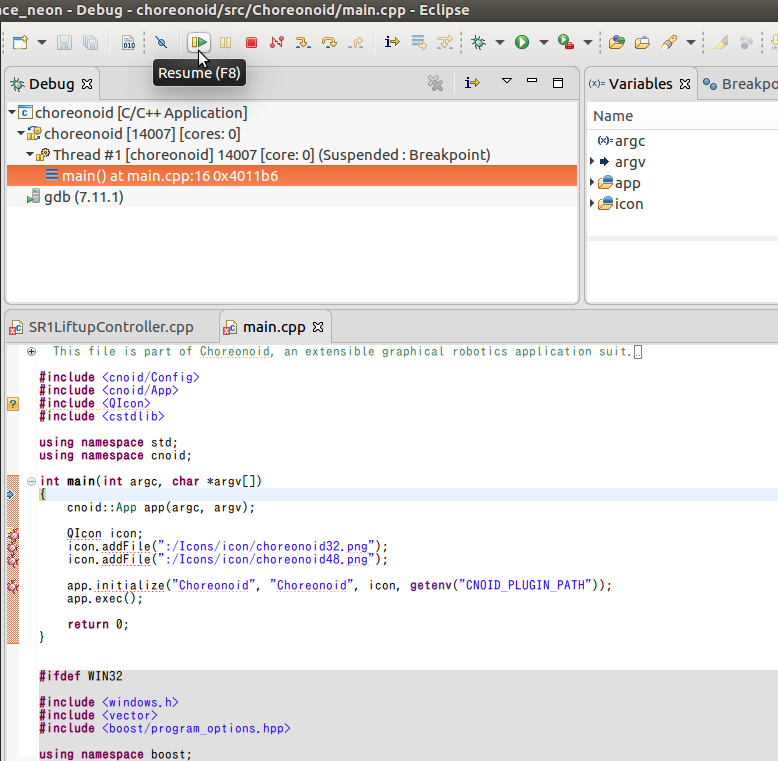
The screen switches to the debug view and stops at the first line of the program. (The setting to not stop at the first line will be explained later.)
Click the green triangle icon in the figure or press F8 to continue.
Once Choreonoid launches, open the SR1Liftup.cnoid project and run the simulation.
The program will stop at the line where you set the breakpoint earlier.
If the Eclipse window is hidden behind the Choreonoid window, bring it to the front.
By clicking the icon in the figure or pressing F6, you can execute the program line by line.
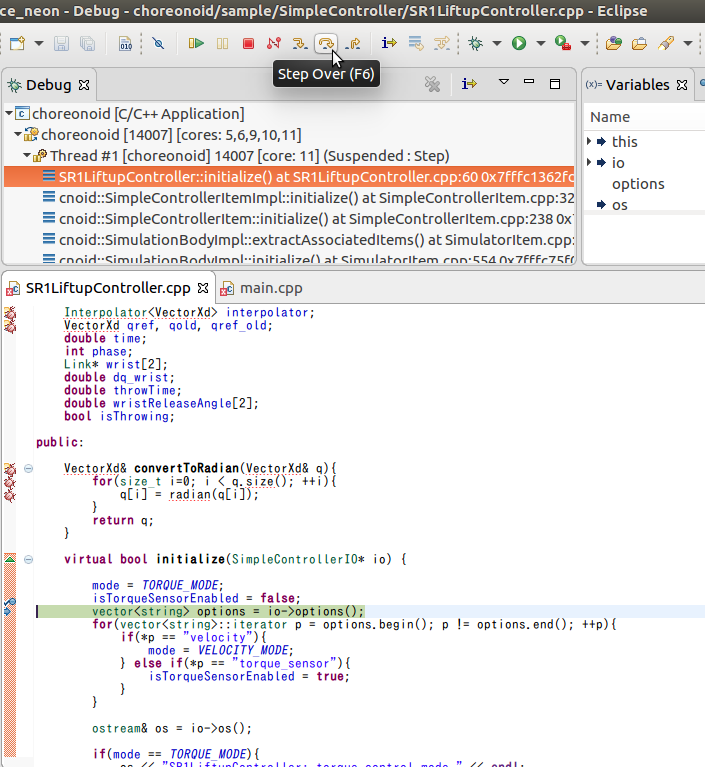
By clicking the left and right icons or pressing F5, F7, you can step into or out of functions. You can terminate with the red square icon.
The contents of variables when stopped at a breakpoint can be viewed and set in the Variables section shown in the figure.
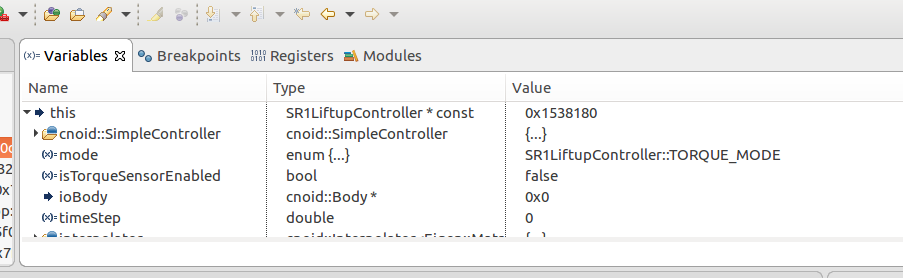
Note
During debugging, if the controller thread property of AISTSimulator is set to true, Choreonoid may freeze when starting the simulation. In such cases, debug with the setting set to false.
Setting to Not Stop at the First Line of the Program
Select Window - Preferences from the menu to open the settings screen.
From the list on the left, select C/C++ - Debug - GDB to change the screen, and uncheck Stop on startup at:.
Apply and exit.